INSIGHT

Avoid Costly Jams: 5 Proven Hog Ring Plier Repair Solutions that Work
December 30,2025

If you rely on a hog ring plier for gabion baskets, fencing, or heavy-duty packaging, you know that a single jam or a weak closure can stall your entire project. These tools are built to last, but they aren't invincible. Wear and tear on the jaws or a simple air leak can quickly turn a professional C-ring tool into a source of frustration.
In this post, we’re breaking down the most common issues we see in the field—from why your hog ring strips keep getting stuck to how you can fix deformed closures yourself. We’ll also walk you through the exact steps to replace key parts like jaws and O-rings, so you can get back to work without waiting.
【Read More: Why Hog Rings are the Best Fastening Solution and How to Select】
Brief Introduction to C-Ring Tools (Hog Ring Pliers)
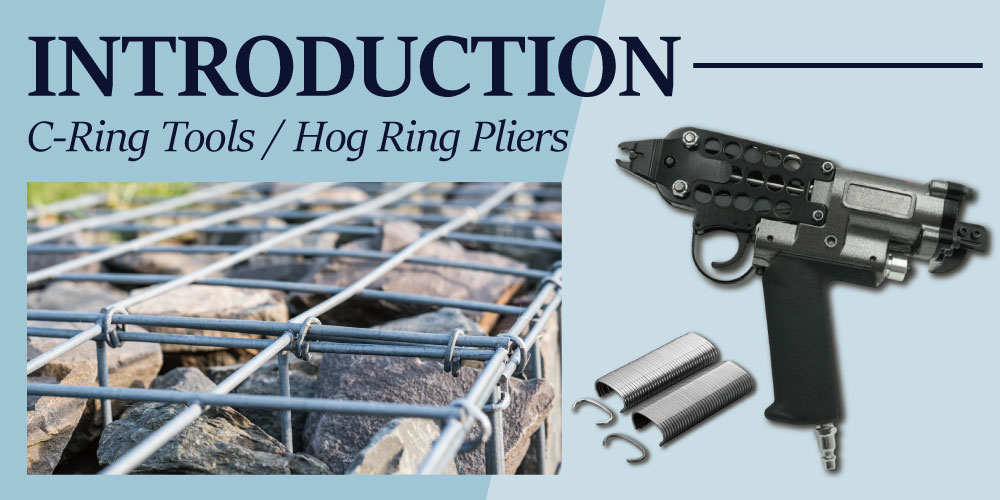 A hog ring plier is a heavy-duty fastening tool specifically designed to close metal rings into a circular or "C" shape. Often referred to as a C-ring tool, it works by crimping an open metal fastener—the hog ring—around wires, mesh, or fabric to create a permanent, secure connection.
These tools are widely used in professional industries where high-tension fastening is required. Common applications include:
- Gabion Baskets: Securing heavy-duty wire cages for erosion control.
- Fencing: Connecting chain-link or wire mesh fences.
- Automotive Upholstery: Attaching seat covers to the internal wire frames of car seats.
- Industrial Packaging: Closing large bags or securing heavy-duty netting.
Whether manual or pneumatic, the primary advantage of using a dedicated C-ring tool is the consistency and strength of the closure, which is far superior to standard pliers.
【Read More: Mastering Hog Ring Pliers: 9 Reasons You Need This Essential Tool】
【Read More: 4 Reasons You Need Mattress Stapler for Professional Mattress Production】
Feeding & Jamming Problems: Why C-Rings Get Stuck
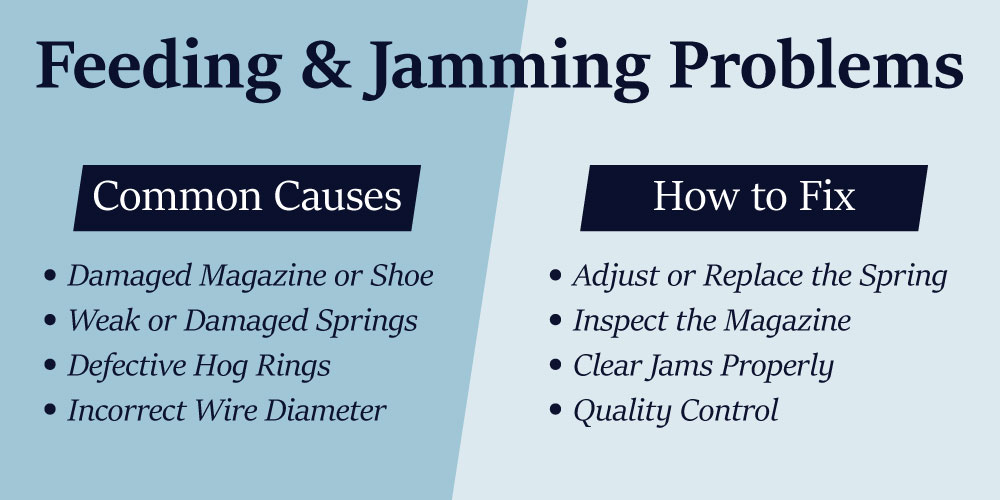 Nothing slows down a project more than a jammed tool. Whether you are using a manual or pneumatic hog ring plier, feeding issues generally stem from either mechanical wear or fastener quality. Understanding these root causes can help you minimize downtime.
Common Causes of C-ring Feeding Failure
Damaged Magazine or Shoe
The magazine and shoe act as the guide rail for your fasteners. If these components are bent, dented, or deformed, the hog ring strips will not slide smoothly into the jaws.
Weak or Damaged Springs
The pusher spring is responsible for maintaining constant pressure on the rings. If the spring is too loose, damaged, or has lost its tension, it won't be able to feed the next C-ring into position.
Defective Hog Rings
Sometimes the problem isn't the tool, but the consumables. Low-quality or defective rings—such as crooked strips, twisted rings, burrs, or uneven alignment—can easily cause a major jam.
Incorrect Wire Diameter
Using a hog ring with a wire diameter that doesn't match your tool's specifications will lead to friction issues and feeding failure.
How to Fix Feeding Issues
If your hog ring plier starts to malfunction, follow these troubleshooting steps:
1. Adjust or Replace the Spring
Check the tension of the pusher spring. If it shows signs of fatigue, replace it to ensure consistent feeding force.
2. Inspect the Magazine
Look for signs of wear on the magazine or shoe. If they are worn out or warped, replacing these parts will restore the tool's smooth operation.
3. Clear Jams Properly
Always disconnect the power source before attempting to remove a jammed C-ring. Use appropriate tools to clear the blockage without scratching the internal rails.
4. Quality Control
If you suspect the fasteners are at fault, save the defective hog ring samples and send them to your supplier for evaluation to ensure you are using the correct grade of material.
【Read More: From Car Seats to Fences: 3 Points to Choose the Perfect Hog Ring Size】
【Read More: Why Finishing Matters More Than You Think: 4 Mistakes to Avoid in Fastener Coating Selection】
Poor C-Ring Closure: Too Large, Too Small, or Deformed
 The reliability of a hog ring plier is measured by the quality of its closure. When a C-ring fails to form a perfect circle, it can compromise the tension and safety of your project. Here is how to identify and fix common forming issues.
Closure Diameter is Too Large
If your C-ring is closing but remains too loose, it usually points to a mechanical timing or alignment issue within the hog ring plier:
1. Latch Issues
A damaged latch or an incorrect latch model can prevent the jaws from completing their full stroke.
2. Weakened Latch Spring
If the latch spring is worn out, it won't provide enough tension to guide the forming process.
3. Worn Jaws
Over time, the internal grooves of the jaws wear down. Ensure you are using the correct jaw model for your specific hog ring size.
4. Piston Rod Mismatch
Using an incorrect piston rod can limit the driving force, resulting in an incomplete, oversized closure.
Closure Diameter is Too Small
Conversely, a closure that is too tight can pinch materials or cause the hog ring to snap. This is often caused by:
1. Front Jaw Wear
When the front projection of the jaws wears down, the ring is forced into a smaller radius than intended.
2. Unmatched Jaw Pairs
One of the most common mistakes in hog ring plier maintenance is replacing only one jaw. Always replace upper and lower jaws as a matched pair to ensure perfect symmetry.
3. Jaw Mismatch
Ensure the jaw profile matches the wire gauge of the C-ring you are using.
Teardrop-Shaped or Deformed Rings
A "teardrop" shape indicates that the C-ring is being crimped unevenly. This distortion is typically caused by:
1. Latch and Side Plate Wear
A damaged latch or worn side plates can cause the ring to tilt during the crimping cycle.
2. Driver Issues
A worn or improperly modified driver blade will apply uneven pressure to the hog ring.
3. Fastener Quality
Sometimes, defective C-ring strips with uneven wire hardness or burrs will resist uniform bending, leading to deformed shapes regardless of the tool's condition.
【Read More: Not Sure Which Gauge to Use? These 4 Points Make It Easy】
【Read More: Make Every Connection Count: 4 Clear Strategies to Choose the Best Fastener Materials】
Air Leaks, No Firing, Weak Firing Power
 A pneumatic hog ring plier relies on consistent air pressure and airtight seals to function. If your tool loses power or starts leaking, it not only affects the quality of the C-ring closure but can also lead to premature wear of internal components.
Tool Does Not Fire
If you pull the trigger and nothing happens, or the power is too weak to crimp the hog ring, check the following:
- Damaged O-rings or Worn Gaskets
The internal O-rings are the primary seals. If they are cracked or brittle, air will bypass the piston, leaving the tool powerless. - Air Pressure & Hose Integrity
Ensure your compressor is providing the recommended psi. Check the air hose for any punctures or leaks that might be causing a drop in pressure before it reaches the hog ring plier.
Air Leaking During Firing
If you hear a hissing sound specifically when the tool is cycled, the issue is likely localized:
- Piston Area Seals
Worn O-rings around the piston are the most common culprits for leaks during the firing stroke. - Internal Sealing Failure
If a basic O-ring replacement doesn't fix the leak, there may be a failure in the internal valve seals, which requires a complete seal kit replacement to restore the C-ring tool's performance.
Popping or Bursting Sound When Feeding
Sometimes a hog ring plier will make a sharp "popping" or "bursting" sound while feeding the next fastener. This is usually a sign of mechanical resistance rather than a pneumatic leak:
- Fastener Defects
A crooked hog ring strip or excessive burrs on the outer curve of the rings can cause them to catch on the rail, creating a snapping sound as they are forced forward. - Compatibility Issues
If the wire diameter is too large for your specific tool model, it will create excessive friction. - Magazine Alignment
Check the gap between the magazine and the shoe. An excessive gap allows the C-ring to shift out of alignment, leading to feeding interference and audible "bursting" noises.
【Read More: Nail Gun Leaking Air from Trigger? Step-by-Step Fix & Prevention】
【Read More: 5 Common Driver Unit Problems Every Air Nailer User Should Know】
Step-by-Step Repair Procedures
 Performing your own repairs can save time and keep your project moving. Whether you need to replace worn components or fix an air leak, following the correct sequence is vital for the longevity of your C-ring tool. Here are the professional procedures for common repairs.
How to Replace Worn Jaws
The jaws are the most hard-working part of the hog ring plier. When they wear down, the hog ring will no longer close properly.
1. Safety First
Always disconnect the air supply before starting.
2. Disassembly
Remove the main bolt, lock nut, and the latch components. The "Matched Pair" Rule: To maintain perfect symmetry, always replace the upper jaw, lower jaw, and the center bushing as a complete set. Mixing old and new jaws often leads to uneven C-ring forming.
3. Reassembly & Testing
Tighten the bolt until snug, then back it off slightly to ensure the jaws move fluidly without excessive play.
Replacing a Damaged Driver
The driver (or driver blade) is the "hammer" that strikes each hog ring. If the tip is chipped or bent, the tool will jam or fail to feed.
1. Removing the Guide System
Start by detaching the magazine assembly and the main guide rail. This will expose the driver housing.
2. Removing Pins & Rollers
Use a pin punch to gently tap out the rollers and retaining pins. Be careful not to lose these small components, as they are essential for the driver’s path.
3. Inspection
Before installing the new driver, inspect the driver channel for any metal burrs or debris. Slide the new driver into place and ensure it moves up and down without resistance before reattaching the magazine.
【Read More: What Technicians Don’t Tell You: 6 Moves to Fixing Driver Units and Restoring Nailers】
Replacing Piston O-Rings for Maximum Power
If your hog ring plier feels "weak" or makes a continuous hissing sound, the internal piston seals are likely worn out.
1. Accessing the Cylinder
Remove the side plates and bushings to access the main piston assembly. Gently pull the piston out of the cylinder body.
2. Cleaning the Cylinder
Use a lint-free cloth to clean the internal walls of the cylinder. Any grit or old grease left behind will quickly damage your new O-rings.
3. Lubrication is Key
Before installation, coat the new piston O-rings with high-quality pneumatic grease. This creates a superior airtight seal and ensures the C-ring tool delivers maximum crimping force with every trigger pull.
【Read More: Maximize Tool Performance: 4 Smart Ways to Pick the Best Air Tool Fittings】
Replacing Trigger Valve O-Rings
A leaking trigger is often caused by debris getting trapped in the valve or the aging of the rubber seals.
1. Valve Removal
Carefully remove the exhaust deflector and the valve seat components. You will typically find a series of small springs and spacers.
2. Replacing Spacer O-Rings
Check each spacer O-ring for cracks. Even a microscopic tear can cause a significant air leak. Replace the seals and ensure the valve stem moves smoothly to maintain a responsive trigger fee.
Replacing the Torsion Spring
The torsion spring provides the tension needed to reset the tool after each cycle. If it breaks, the tool will remain in a "closed" position.
1. Front-End Access
You must remove the jaws, the magazine, and the main guide rail to reach the spring's mounting point.
2. Spring Orientation
Note the exact position of the spring’s "legs." Use a pair of needle-nose pliers to seat the new spring into its housing, then secure it with the spring pin.
3. Feed Path Alignment
While reassembling, ensure the main guide rail is perfectly aligned with the jaws. Misalignment here is a leading cause of hog ring feeding failures.
【Read More: 4 Simple Ways to Maintain Your Hog Ring Plier for Better Performance】
【Read More: 14 Surface Treatments That Matter: A Closer Look at Fastener Finishing】
Conclusion
Mastering the upkeep of your hog ring plier is the single best way to ensure consistent, high-strength closures and long-term project safety. As we’ve explored, most operational hurdles—from air leaks and weak firing power to deformed C-ring shapes—often stem from simple wear or debris buildup. By establishing a routine inspection habit and addressing small issues like worn O-rings or misaligned jaws early on, you can prevent costly mid-job breakdowns and significantly extend the lifespan of your equipment. Remember, a well-maintained tool doesn't just work better; it provides the precision and reliability that professional-grade work demands.
At our core, we believe that professional results are only possible when you have the right gear in your hands. That is why we are committed to providing more than just tools—we provide complete fastening solutions. Our industrial-grade hog ring plier lineup is engineered for durability and ease of maintenance, ensuring that you spend more time working and less time troubleshooting. Coupled with our high-precision hog ring fasteners, designed to feed smoothly and close perfectly every time, we help you tackle everything from massive gabion structures to intricate upholstery with total confidence. If you’re looking for a partner that understands the rigors of your industry, explore our latest C-ring solutions today and experience the difference that quality makes.
Get Started with VIM Today
Enhance your repairing program with VIM’s reliable parts and exceptional customer service. Visit VIM's website or contact us directly to learn more about our offerings and how we can support your projects.

Article Classification
Recent Articles
- 7 Air Nailer Safety and Setup Points You Cannot Afford to Miss
- How Proper Air Pressure Safeguards Your Pneumatic Tools and Investment
- Pneumatic vs. Electric Nailer: How to Choose the Best Option for Your Workflow
- Avoid Costly Jams: 5 Proven Hog Ring Plier Repair Solutions that Work
- 4 Simple Ways to Maintain Your Hog Ring Plier for Better Performance